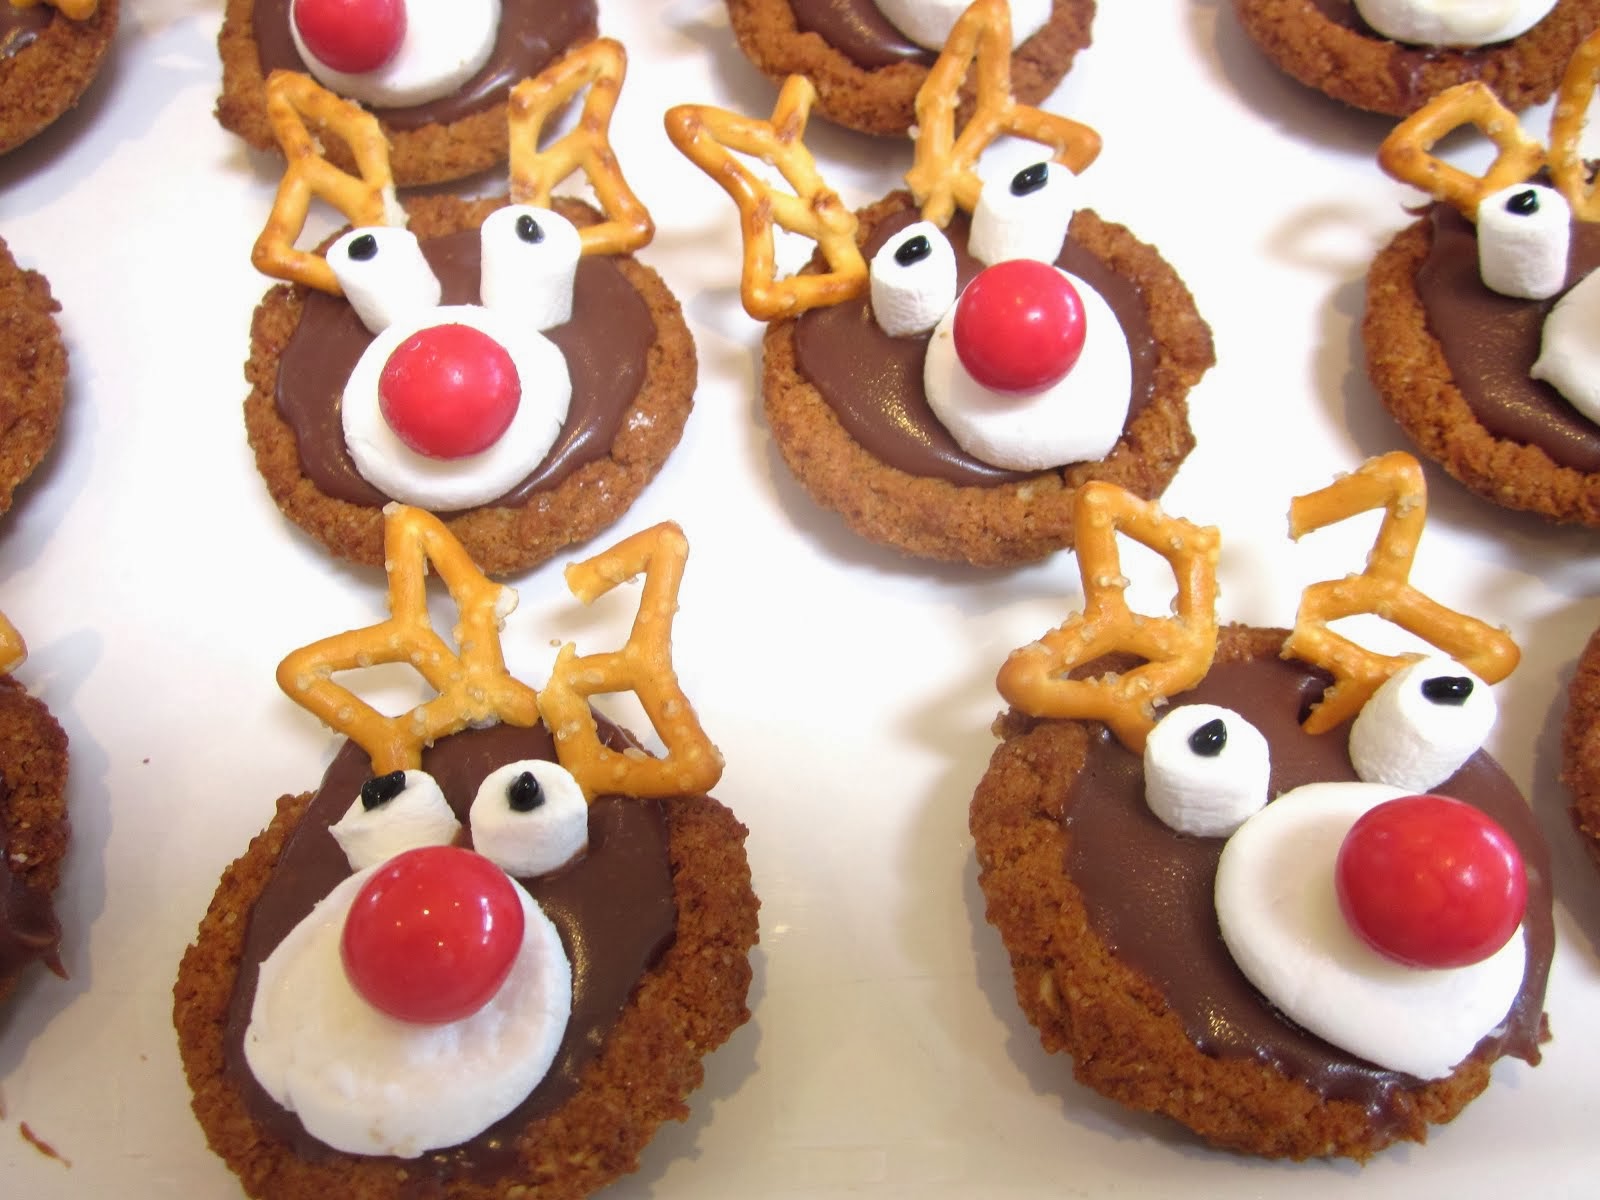
Hi Gals! Looks like I'm running a Christmas series, doesn't it? And I seem to have a thing for Reindeers at the moment too. Thanks for all the love you expressed for my Reindeer Cookies
Can't believe I'm getting all festive and it's still only November.
I haven't made one of these patchwork baubles for 25 years and I haven't seen them around in the blogosphere either, so I thought I'd share this 'too easy' Christmas decoration with you. Make it with the kiddos or make it on your own. I found myself sitting at my kitchen bench singing Christmas carols, as I pushed the fabric into the foam ball with the back end of some tweezers and feeling a real lift in my spirits. I am usually not that full on into Christmas, so this was a break through for me. It's amazing how this blogging can motive and inspire a new love of the season.
I am becoming a regular at my new found store love, Spotlight It's cheap and cheerful and has lots of great crafting supplies. I managed to just get my hands on the last four foam baubles available, until their new shipment arrives. When styling anything, one should stick to odd numbers, whether it be flowers in a vase or baubles on a tree, but today through necessity, I am breaking my own strict rules.
What you will need is:-
Some foam balls. Any size will do, but I used 75mm or 3 inch balls.
At least three different pieces of fabric. I have chosen beautiful 100% cotton with a Nordic theme.
Ribbon.
Pearl topped pins to secure the ribbon.
Scissors.
Nail file or tweezers to press the fabric into the balls.
Cut the fabric into squares. Again size doesn't matter greatly. Obviously the bigger the ball the bigger the square. Mine were about 7 cm or 3 inches square, but by the last ball the squares were getting bigger, so as to cover the ball more quickly.
Place the fabric on the ball and start pushing it into the foam with the back of the nail file or tweezers, starting about 1cm or 1/2 inch from the edge of the fabric. There is no need to make a perfect shape, but I started to make a rough circle. Trim the fabric if needed but it's best to start with too much overhang as excess can be trimmed where necessary.
Use a contrasting fabric next to the one you have just pushed into the ball. Sometimes you will find that the same fabrics meet up towards the end, as the ball becomes completely covered. If you have the choice of a fourth fabric, you can avoid the same fabrics meeting up.
Once the ball is fully covered, choose your favourite profile of the bauble ensuring you can see at least a glimpse of all you fabric choices. Decide where your ribbon (15cm or 6 inches) will go. Push the ends of the ribbon into one of the cracks and secure with a pin, pushing it in diagonally making sure it catches both ends of the ribbon.
These baubles will eventually be on my big tree, but I'm not that enthusiastic...it's no up yet, so I put together a little cypress tree for the coffee table. It really needs more baubles, but you get the idea.
I hope you check out my other quick and 'Too Easy' Christmas ideas and recipes at the top of my side bar throughout December. The list will grow as I get more inspiration.
Lord knows we need all the help we can get at this time of year, turning ourselves inside out to make it a great season for all whom we are close to. For better or for worse, Christmas lunch is at the Beach House this year, so I better get my Beach Christmas hat on. Our family is 20 strong....yikes!!!!! Hope my new found enthusiasm will get me over the line.
Today I am partying at














.jpg)


These are darling, Carolyn...I love the fabric! And you have really made it look easy!! Thank you so much for the directions!
ReplyDeleteXO,
Jane
Gorgeous! You have done a great job. I might have to try these. ;-)
ReplyDeleteThese are very charming and seem so easy or you make it look easy.
ReplyDeleteWish I had some of your festive spirit.
ReplyDeleteI remember my sister making a ton of these patchwork ornaments a long long time ago, and I still have some of them! Yours do not look old-fashioned in any way, and in fact they would look perfect on any tree, no matter what the decorating style might be!
ReplyDeleteHappy REDnesday,
Carol
You have beat me to it. I have been to spotlight this week and bought the foam balls to make these. I have n't made them since I was a kid and thought I'd give them a go. Haven't decided on the fabric yet, but yours look great. Leahx
ReplyDeleteSo lovely fabric ornaments. Different from the traditional materials. A touch of love.
ReplyDeleteTerrie from Hong Kong
These look like old-fashioned goodness! I have not seen this technique -- thank you!
ReplyDeleteI love the red and white. It's so festive.
ReplyDeleteLovely! I just love red and white at Christmas!
ReplyDeleteThis is really smart and pretty.
ReplyDeletePlease come to our party at:
www.mychristian-life.blogpsot.com
Very cute - I'm itching to get into my craft boxes in time for Christmas.
ReplyDeleteThese are so lovely. I wish I had a Spotlight here :( The red and white paired with your greenery is wonderful. I've been trying to decide how to do my mantle this year and now I know.... I love the red and white. So glad you shared at It's a Party!
ReplyDeleteWhat a great craft idea! Very glad that you were able to join us at Pin'Inspiration Thursday.
ReplyDeleteHappy new follower :-)
I have made these before for a friends tree now you have me thinking I need to do some for my tree. love the fabric you chose they are going to be perfect on your tree.
ReplyDeletehugs from Savannah, Cherry
How darlings these are! I love your fabric combination of Christmas patterns. The tree looks so cute! Happy Thanksgiving to you and yours. FABBY
ReplyDeleteOh that is lovely! They look quilted. So cute! Thank you for joining me at Home Sweet Home!
ReplyDeleteSherry
What great fabric! These are darling!
ReplyDeleteKim
www.todayismysome-day.blogspot.com
I love the little tree and the ornament is super cute!
ReplyDeleteThis ornament idea is great! Thanks for sharing!
ReplyDeleteKarah @ thespacebetweenblog
What a great ornament! I just may have to make some of these!
ReplyDeleteWhat a gorgeous idea. I totally have to give this a try :) xx
ReplyDeleteThis is a beautiful! I would love to give this a shot. I'm your new follower, please come by for a visit when you have a chance.
ReplyDeleteVery cute--that fabric is adorable! Thanks for linking up to Share the Love Wednesday!
ReplyDeleteMary
THANK YOU SO MUCH for joining in Pin'Inspirational Thursday's linky party last week.. I sincerely appreciate it.. You where featured as a TOP pin today.. Hope you can stop in and snag yourself a button.. Thanks again for linking.. Hope you will be back again today.. : )) TY http://theartsygirlconnection.blogspot.com/2011/11/pininspirational-thursdayslinky-party.html
ReplyDeleteI found you through Stuff and Nonsense. Thank you for sharing these cute ornaments! I remember my mom used to make these when I was young. I'll have to give them a try!
ReplyDeleteLike alot of other people. sure wish we had a Spotlight here, must be an Australian store? Where we live in CO (close to UT) there aren't the stores as there on the other side of the Rockies. We live in what they call the Western Slope.
ReplyDeleteLoving all your ornaments, Nordic and beachy. I try to make different kinds of ornaments each year with paper so think those tags will be made/used as ornaments. Think they're pretty enough for that.
I get so inspired every time I get on your blog. You are a very talented person and I love your sense of humour.
We can't all know how to be perfect Mother's and wives, nobody gives us a book telling us how when you get married. I'm still working on it and I"m almost 72. Hope you have a wonderful week and warm up.
Thanks you. I love your comments and have tried to return the favour but you don't seem to have a blog. Is that the case
ReplyDeleteMy daughter still has the ones I made for many, many years ago. Hers were in calico prints. Thanks for inspiring me to try these again in some more updated fabrics.....
ReplyDelete